Ride leader workshop

As you may be aware we are very short of leaders for the Wednesday and Saturday Havant rides. For the current 3 month programme, initially only 4 people put their names down to lead rides. This not only puts pressure on those four but could ultimately threaten the rides. We are therefore looking for potential new leaders.

It might seem a big step, but it really isn’t, and to help with that, we’re arranging a workshop

The workshop is intended to introduce and discuss the various aspect of ride leadership.

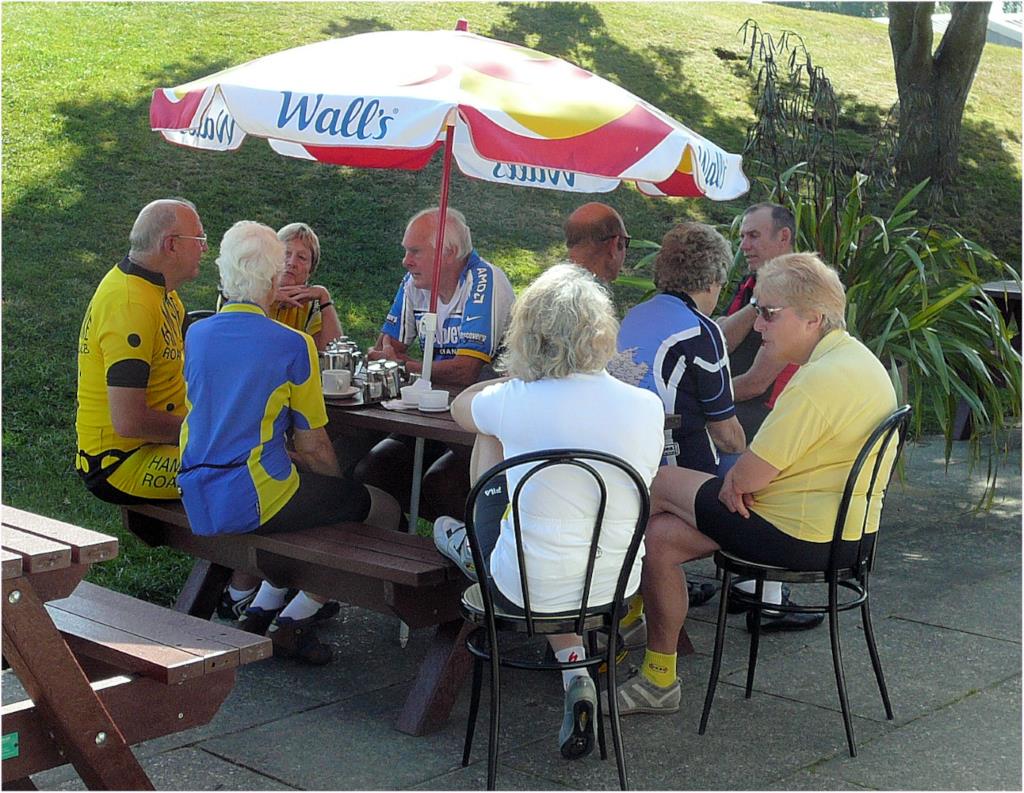
All non-ride leaders who feel they could and would like to support the rides programme by becoming ride leaders are invited, as are existing active ride leaders. We plan to have a short ride to a café, where over coffee/tea/cake, we will hold the workshop, possibly on a Thursday morning in January (10th, 17th, or 24th). There would be no obligation to become a ride leader.

We need to settle a date, so please tell us what dates you can do and thereby we can maximise the numbers attending.

Regards

Robert Sebley
PCTC President

Add a forum entry

Adding an entry to the forums is easy. All you need to do is:

Log in to the site

You must have logged-in to read this note so you know at least one way. There is a 'Login' link at the bottom left of all of our web pages. If you are already logged-in, you will see the message "You are logged in as..." instead.

Select the appropriate forum

The forums page lists all the forums available to you together with a brief description of each one.

When you are logged in to the site, you can see the same list in the menus under 'Member services' / Forums.

Click a forum title to enter that forum.

Add your entry: title and a message

When you enter a forum you will see a list of topics that are already in the system. See below for how you can contribute to an existing topic.

At the bottom of the list, you will see this form that allows you to start a new one:

The simplest way to add a new entry is to:

  • Enter a title in the 'Topic title' box
  • Enter your message in the main text box
  • Optionally, click 'Notify me of follow-up replies via email' (probably a good idea)
  • Click 'Submit'

That's it.

Members that have opted to follow the forum will automatically get an email notifying them of your new topic.

Pasting in text

You might want to re-use text from an article you've already written, or you might just be more comfortable using a different editor to write your article. That's fine.

If you use a Word Processor like Microsoft's Word, our site will try to maintain the same formatting when you paste text from it. That sounds like a good thing, but:

  • It does that by adding a whole lot of code as part of your text which you can see only if you use the 'Text' tab. That code means you are likely to get unexpected results when you try to edit your entry.
  • In any case, there are limits to what HTML (the language of the Internet) can do, so the conversion won't be perfect.

It's much better to remove the formatting and re-implement it in your new document. There are two main ways to do that:

  • Before you paste your text, click the 'Paste as text' button in the toolbar.
  • Paste your text into a non-formatted editor - such as Windows Notepad - before pasting into the site. That will remove all formatting for you.

Having pasted some text you can get back to the plain text version, by highlighting it and clicking the 'Remove formatting' button in the toolbar.

Optionally, add some links, images and formatting
Add a link

To do that:

  • Highlight the text you want to link from (for example, 'Click here for more information').
  • Click the 'Insert/edit link' button in the toolbar: 
  • Enter or paste your link into the box that appears:

    If you are linking to a site other than our one, click the 'Link options' icon at the right, click 'Open link in a new tab' and 'Add link'. Otherwise just click the blue 'Apply' button.

As a shortcut, you can highlight the text you want to link from and paste a web address. The site will spot what you are doing and convert the highlighted text into a link.

Add an image

You will first need to obtain or create your image. If you are using a digital picture, your image will probably be too large to be useful on the web site. Consider using image manipulation software or web site to create a more manageable, smaller version for use in your article.

There are three main image formats that are universally implemented by web browsers:

  1. 'GIF' - best for simple images
  2. 'JPG' or 'JPEG' - best for complex images like photos
  3. 'PNG' - good all-rounder, specifically designed for use on the web

If you get the choice, use PNG.

To add your image to your article, place your cursor where the image should appear - normally at the beginning of a paragraph. You get the option to place your image so that text folds around it. If you want your image to appear on the right, place your cursor at the beginning of the relevant paragraph.

Click the 'Add media' button to see this dialogue...

Article5


You can click the 'Media Library' tab to select an image that has already been uploaded to the site. Alternatively, drag your image into the dialogue box and the site will upload it automatically.

The site can create multiple versions of your image from 150 x 150 pixels to full size. The idea is that you can include a smaller version in your article that people can click if they want to see it full size.

When you file has uploaded, you'll see something like this at the right hand side of the dialogue:

Article6

Starting from the top:

  • Title - is the name the file is given in the media library, it defaults to the name of your file
  • Caption - is text that will be shown underneath your image when displayed on the web
  • Alt Text - should briefly describe your image if that's not already done by its context; these days alt text is primarily used by people with sight impairment
  • Description - is used when reviewing entries in the media library
  • Attachment display settings - controls how the image will be included in your article...

Use the Alignment selector to decide how your image will be shown:

  • None - displays the image at the position you selected. Text will not wrap around it. You would normally use this option to display the image in a paragraph on its own.
  • Left - displays the image on the left with text flowing around it to the right.
  • Right - displays the image on the right with text flowing around it to the left.
  • Center - (sorry about the spelling) displays the image in the middle with text flowing to both the left and the right.

Use the 'Link To' selector to determine what happens if someone clicks your image:

  • Media File - links directly to the full size version of your image. It will appear in an otherwise blank browser window. Use this option if you want to display your image 'on top' of your article when it is clicked (see below).
  • Attachment Page - inappropriate in our site.
  • Custom URL - Allows you to link your image to anywhere on the internet; enter the address to go to in the box below the selector.
  • None - The image doesn't link to anything; nothing happens if you click it.

Use the 'Size' selector to determine which version of your image to display in your post. Use the one closest to 600px - the maximum width of your post. See below what to do if you are posting a larger image.

Click 'Insert into post' to insert your image. The editor does a reasonable job of showing you how your image will appear.

If you want to change how your image appears, click it in the editor to see icons to change the image's alignment plus 'Edit' and 'Delete'.

If your image is a large one, use the 'Edit' button to show the 'Image details' box. At the bottom left, enter "fancybox" - all lower case - in the 'Link CSS Class'. That will allow people to see a larger version of your image if they click it.

Formatting your text

If you want, you can add some formatting to your entry to make it more useful and/or easier to read.

Use the toolbar buttons or menu items to format your text. For example, you can make text bold or italics (much better than using ALL CAPITALS); use bullet points; and change text colour. The buttons work the same way as Word or similar word processors.

If you are quoting text provided by someone else, highlight the paragraph(s) containing the quote and click the 'Block quote' button: .

Note that the appearance of text (including font, links and layout of quoted text) in the editor does not necessarily match the appearance in the published entry.

How do they do that?

The above explains some of the basics of editing. There are plenty of other options we haven't described. If you see a feature that you would like to use, or if you want to do something, but can't see how; contact Andy and he'll try to help. You could also try searching the internet for help with 'TinyMCE' - that's the software we use to create the text box.

Click any of the above for more information. You can click any image to see a larger version.

Replying to a forum entry is even easier:

Add a reply

When you display a topic you will see this form at the bottom of the page:

It is the same form as the one for adding an entry (see above). The only differences are that:

  • The form's heading reads 'Reply to:' followed by the topic's title
  • There is no title box

To add a simple reply, just:

  • Enter your message in the main text box
  • Optionally, click 'Notify me of follow-up replies via email' (probably a good idea)
  • Click 'Submit'

If you want, you can add some formatting to your entry (see above for more details).

Add a reply to a reply

Replies to topics appear in a list shown chronologically. You can also reply to an existing reply, in which case your entry will appear immediately below that reply and indented to make it clear it is a reply to a reply.

To enter a reply to a reply, click the 'Reply' link at the top right of the entry you are replying to. The system will automatically move the reply box below the entry you are replying to, with an indent.

You will see the same 'Reply' link in replies to a reply, so you can enter a reply to a reply to a reply (and so on).

Forum entries are visible only to members who log in to the site but, if you take the time to add an entry, we will include a reference to it in our weekly update email that gets sent to all members (unless they have opted out from receiving them).

You can post anything you like but please:

  • Try not to irritate members by posting frequently on the same subject
  • Take care when posting about sensitive topics, we reserve the right to remove potentially offensive entries without notice
  • Consider portraying both sides of controversial viewpoints to enhance the value of your entry
  • Accept that your entry might get replies giving alternate viewpoints

Decathlon Northarbour opens Thurs 25-April

Decathlon is opening its store in Northarbour tomorrow (Thursday 25-April-2018), near the Tesco Extra, and they're offering free backpacks for the first day if you have a Decathlon account and card.

They do a fantastic range across all sports at great value, but especially cycling, and their bikes get great reviews. Disclaimer: I bought one of their fantastic folding bikes, and it's the most fun bike I've got - I'm certainly recommending it.

Previously, the nearest store was West Quay Southampton, which is a bit of a trek for us here.

More details at https://www.decathlon.co.uk/portsmouth.html

Sustainable cycle parking at the Sustainability Centre?

One of favourite stops, the Sustainability Centre, is planning to transform their 'tired, old, inefficient MoD building' into an eco-friendly, state-of-the-art New Learning Centre.

Update: They've already raised £21,500 towards the £25,000 they need to apply for planning, so they just trying to raise the last £3,500. We can earn them commission at no cost to us when we buy online at popular stores like Amazon, John Lewis and many more! It all works through Give as You Live.

More details at www.sustainability-centre.org/christmaspresents, or go directly, www.giveasyoulive.com/join/sustainabilitycentre, where you'll see them under their official charity name, Earthworks Trust. But of course they'd love any other donations as well.

I hadn't realised just how much they do, from education for schools, universities, teacher training, to camping, bee-keeping, recycling, ecology, forestry, nature, and lots more. Our cafe visits barely scratch the surface. And if the hill-climb to get there is too much for any of us one day, they can even do us a green burial 🙂

It's a big, high-profile, multi-million pound projectSustainability New Learning Centre that will need big funding from the lottery and other sources. And that could help unlock funding for better cycling routes to get there.

They've asked informally for our input on cycle parking. And unusually, in advance! They know we don't like wheel-manglers, but what would we like? We've said cyclists like to be able to keep an eye on their bikes, but it would be a shame to despoil such a beautiful site with ugly steel sheffield stands.

On our coast-to-coast at Whitehaven, we could have locked to leaping stainless steel salmon. Elsewhere, we've locked to beautiful sculptures.

So my challenge to Portsmouth CTC is to come up with something more imaginative, maybe more artistic? Something we'd be proud to use in future. Over to you!

2017 Photo competition results

Another year of excellent entries.

After voting by the members who attended, we awarded prizes to:

  • First place: Anthony Beggs who also wins the photographic competition trophy
  • Second place: Roger Pratt
  • Third place: Wilf Forrow

You can see the winning entries below. Click any image to see a larger version.

Anthony was the clear winner. Roger and Wilf tied on the same number of points so second and third positions were decided by Andy's casting vote - see if you agree with his decision...

Anthony Begg's entry

Roger Pratt's entry

Wilf Forrow's entry

Be a scrubber for a day!

Joy and I are going to be scrubbers for the day next Monday. Butser scrubbers, that is. Why not join us? The weather forecast is sunny!

Queen Elizabeth Country Park (QECP) has asked for volunteers to help with some fun scrub bashing on the lower/southern slopes of Butser Hill National Nature Reserve from Monday 13th to Saturday 18th November.

They've been great supporters of cycling, whether mountain biking, cycling through on the Butser Crossing, or stopping off at the great tearoom for refreshments, so it's an opportunity to return the favour and strengthen the bond.

Teas & coffees will be available, and if you book in advance (via the QECP reception qecp.enquiries@hants.gov.uk or 02392 595040) a breakfast bacon sandwich and piece of cake!

The work will be supervised and with all tools provided. Participants will need to bring working clothes, waterproofs, boots, gloves, and packed lunch.

The day will start at 10.00am and finish at 3.00pm, meeting at the old A3 car park to the east of the motorway. Free parking, look out for the signs.

Joy and I can only do Monday, so it would be fun if you could join us, but if you can't make that, do try another day.

Organised by Tim Speller, Country Parks Manager.

Portsmouth commits to 10% of transport budget on cycling

Portsmouth City Council has just voted to commit at least 10% of its local transport budget to cycling. It's a tribute to the tireless campaigning of PompeyBug, the Bicycle User Group, also known as Portsmouth Cycle Forum.

But also our Cycling UK national team was heavily involved. It's great to see what our subscriptions help to pay for. Being flat and a student city, Portsmouth is a big cycling community, and has pretty good cycle infrastructure (compared to Havant and most of Hampshire). But it also has a high death rate, so there's lots more to do.

More details at: www.cyclinguk.org/blog/watershed-moment-portsmouth-council-back-space-cycling . Well worth reading.

We need to hold them to it, and make sure it leads to real improvements in cycling, not just a spinning class 🙂

Replacing a hood

Following an unplanned meeting with a gravel path, one of the hoods on my bike got ripped, so I looked for a replacement. It was more difficult than I expected, but I finally succeeded.

HoodsI first thought I'd found just the thing on Amazon for a reasonable price (but, all the options I found were for a left and right hood, so I had to buy two when I wanted only one). When it arrived, however, it was obviously too small to be the right part. I'd ordered a SRAM Force 1 hood not realising there were two versions: one for hydraulic disk brakes and one for cable pull brakes (the hydraulic fluid reservoir sits above the levers making the unit taller). Oh well, it was easy to return. I downloaded a parts list from SRAM and found the exact part number I needed and Googled that. I found a matching hood on eBay, sourced from China. It said it was a genuine part and I was encouraged by the correct part number, so I ordered it. A few days later I got an email to say that there had been a manufacturing problem and did I want to wait a few weeks. I couldn't see how that could have happened for a genuine part, so I assumed it was a fake copy and immediately cancelled. I finally managed to order the correct part on eBay but it took a bit of detective work. The advert didn't include the part number, but:

  • The item said the hoods were for a SRAM Force 1 hydraulic shifter
  • The picture looked right
  • The enlarged picture had a faint 'Hydra' logo which matched the ripped one
  • The source was in the UK

The hoods I received matched exactly and came in a SRAM box - but I've no idea whether they are genuine or not.

Then came the difficult bit.

The hood fits over the shifter through the base and there's a cut out for the brake lever. So all you have to do is pull the old hood off and pull the new one on. In my research I'd seen several reports of people being able to do that without disassembling the shifter. The trouble was that the openings looked far too small to fit over the shifter. No way could I pull them on and off! Then I found this video:

They do pull on and off but you have to really stretch them. Mine were more difficult than the ones shown in the video because I had to pull them over the oil reservoir. Thankfully, I could practice using the old hood. It still took a bit of courage to pull the new one on, but after a few minutes struggling it went on!

Anyone want a right hand SRAM hydraulic hood?