You will first need to obtain or create your image. If you are using a digital picture, your image will probably be too large to be useful on the web site. Consider using image manipulation software or web site to create a more manageable, smaller version for use in your article.
There are three main image formats that are universally implemented by web browsers:
- 'GIF' - best for simple images
- 'JPG' or 'JPEG' - best for complex images like photos
- 'PNG' - good all-rounder, specifically designed for use on the web
If you get the choice, use PNG.
To add your image to your article, place your cursor where the image should appear - normally at the beginning of a paragraph. You get the option to place your image so that text folds around it. If you want your image to appear on the right, place your cursor at the beginning of the relevant paragraph.
Click the 'Add media' button to see this dialogue...

You can click the 'Media Library' tab to select an image that has already been uploaded to the site. Alternatively, drag your image into the dialogue box and the site will upload it automatically.
The site can create multiple versions of your image from 150 x 150 pixels to full size. The idea is that you can include a smaller version in your article that people can click if they want to see it full size.
When you file has uploaded, you'll see something like this at the right hand side of the dialogue:

Starting from the top:
- Title - is the name the file is given in the media library, it defaults to the name of your file
- Caption - is text that will be shown underneath your image when displayed on the web
- Alt Text - should briefly describe your image if that's not already done by its context; these days alt text is primarily used by people with sight impairment
- Description - is used when reviewing entries in the media library
- Attachment display settings - controls how the image will be included in your article...
Use the Alignment selector to decide how your image will be shown:
- None - displays the image at the position you selected. Text will not wrap around it. You would normally use this option to display the image in a paragraph on its own.
- Left - displays the image on the left with text flowing around it to the right.
- Right - displays the image on the right with text flowing around it to the left.
- Center - (sorry about the spelling) displays the image in the middle with text flowing to both the left and the right.
Use the 'Link To' selector to determine what happens if someone clicks your image:
- Media File - links directly to the full size version of your image. It will appear in an otherwise blank browser window. Use this option if you want to display your image 'on top' of your article when it is clicked (see below).
- Attachment Page - inappropriate in our site.
- Custom URL - Allows you to link your image to anywhere on the internet; enter the address to go to in the box below the selector.
- None - The image doesn't link to anything; nothing happens if you click it.
Use the 'Size' selector to determine which version of your image to display in your post. Use the one closest to 600px - the maximum width of your post. See below what to do if you are posting a larger image.
Click 'Insert into post' to insert your image. The editor does a reasonable job of showing you how your image will appear.
If you want to change how your image appears, click it in the editor to see icons to change the image's alignment plus 'Edit' and 'Delete'.
If your image is a large one, use the 'Edit' button to show the 'Image details' box. At the bottom left, enter "fancybox" - all lower case - in the 'Link CSS Class'. That will allow people to see a larger version of your image if they click it.


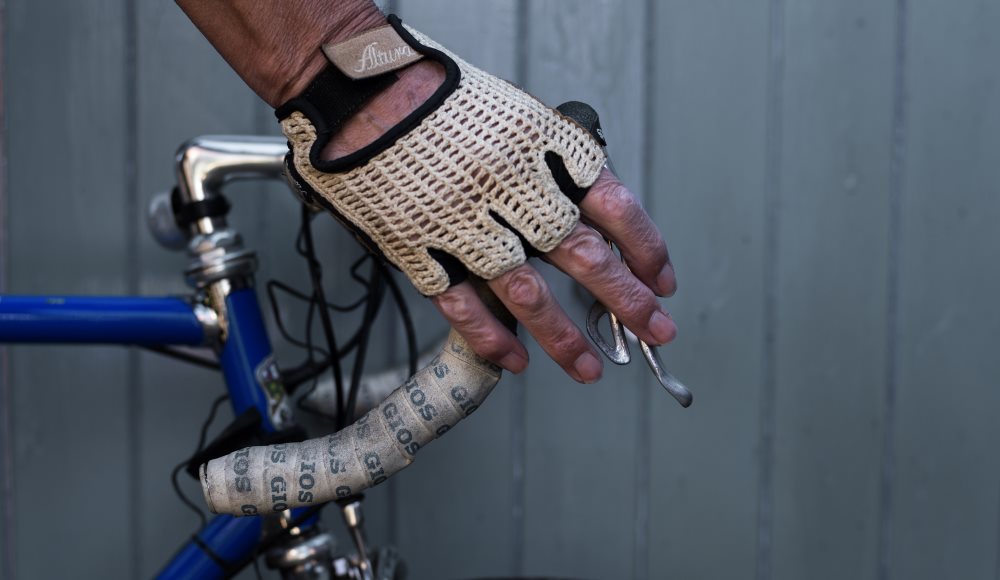


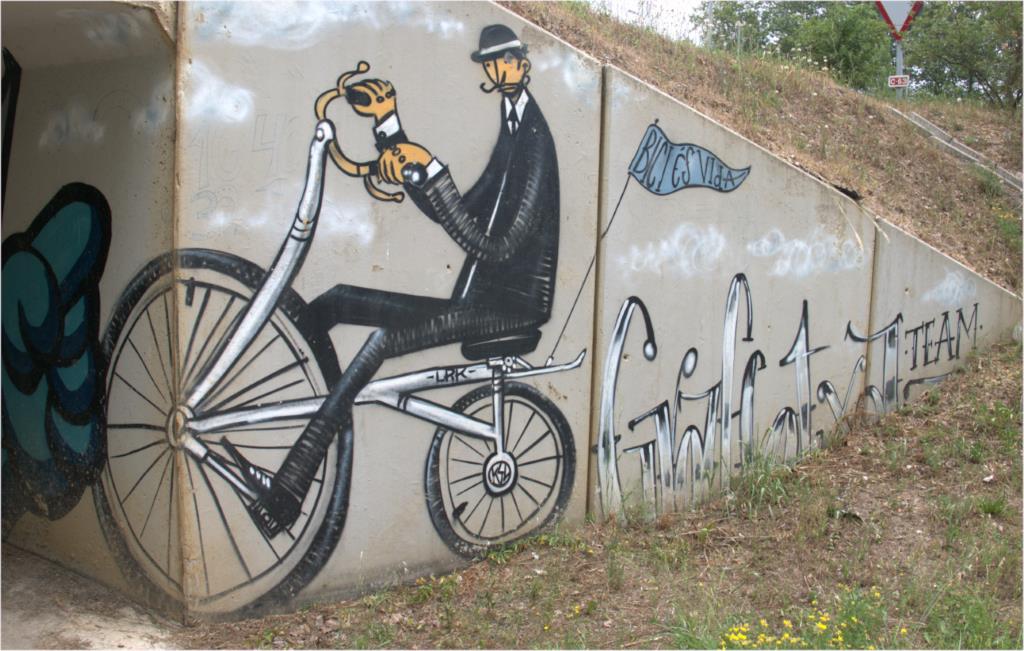

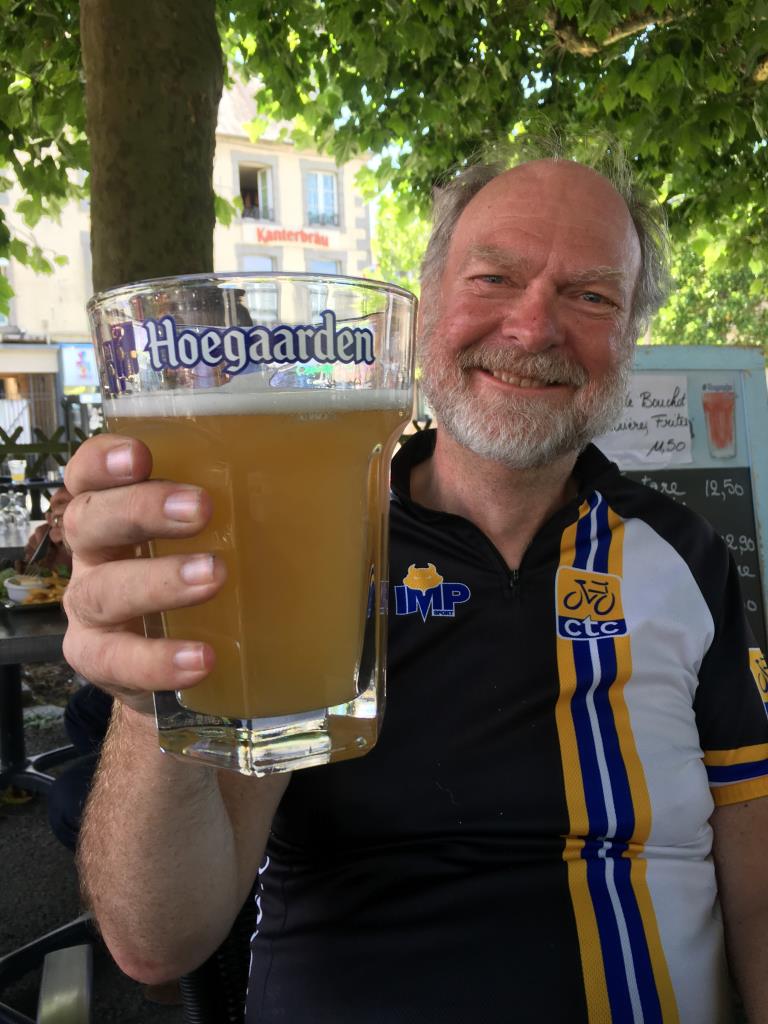

 Malcolm - the "necessary" cyclist from the age of about 11. Lived in what was then a remote Sussex village (West Hoathly - East Sussex ) and a bike was his only means of transport. Then later in his 30's as a new Dad, as a way to catch the train to work in Brighton, he used an old rusty bone shaker of a bike picked up second hand for about a fiver. A mad dash in all weathers along the path next to the railway line from Ferring to Goring (West Sussex) quite literally racing the train because he was always late leaving home.